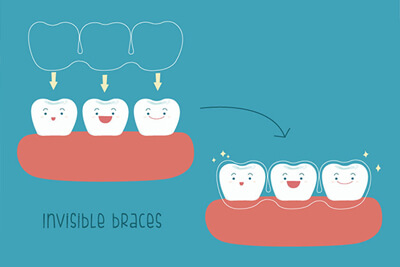
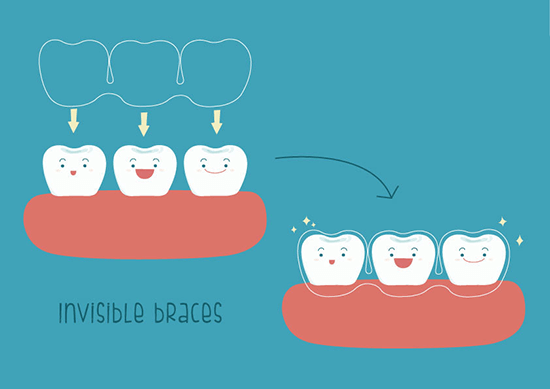
 Invisalign is convenient, comfortable and nearly invisible. What more could you ask for? If you want straight teeth, Invisalign could be the answer. Because the removable aligners are clear, it’s a discreet way to perfect your smile. An Invisalign Preferred Provider trained in the treatment, such as Dr. Sharma, can address a variety of cases ranging from simple to complex. Read on to learn all about the Invisalign steps at Aura Orthodontics:
1. How to Correct an Overbite with Braces Treatments
Aura Orthodontics offers free consultations so you have nothing to lose. Dr. Sharma will examine your teeth, discuss your goals and concerns and go over the pros and cons of the various treatment options. Common Invisalign cases include spacing, overjet, crossbite and underbite. After your consultation, you’ll know exactly what will happen during your treatment.

2. Create a 3-D Rendering of Your Teeth:
Now this is the cool part! At your next appointment, Dr. Sharma takes x-rays, pictures and impressions of your teeth. He uses these to create a digital, 3-D rendering of them. Dr. Sharma then designs your exact treatment plan. You’ll be able to see a visual representation of how your teeth will look at every step of the process including the end result.

3. Get Your Custom Aligners:
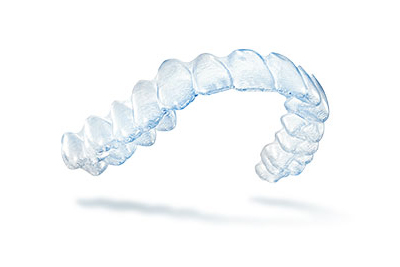
You’re officially on your way to the smile you’ve always wanted! Did you know that while tens of thousands of aligners are produced and shipped every day, each one is unique? You’ll receive your own custom, clear aligners based on the treatment plan set forth by Dr. Sharma. The plastic retainers are BPA-free, smooth and barely noticeable. As a bonus, they don’t pinch or irritate the gums like traditional braces sometimes do. Dr. Sharma will check the fit, give you aligners and you’re good to go.
4. Wear Your Invisalign:
You’ll change your aligners to a new set about every two weeks. While wearing them, you can take them out to eat and brush and floss your teeth. This is a major pro of the teeth straightening system as it helps maintain your periodontal health. You will also want to brush and rinse the actual retainers. For maximum results, make sure you wear the aligners for 20 to 22 hours per day throughout the duration of your treatment.
5. Orthodontic Checkups:
Not only is Invisalign convenient because you can remove the aligners, it’s also convenient because checkups are less frequent and appointments are fast. You’ll visit Dr. Sharma approximately every six weeks so he can monitor your progress. You’ll be able to see the changes in your teeth during the entire Invisalign procedure.
6. Smile Invisalign Results:
Each case is unique, but on average, treatment for an adult takes about one year. The length of treatment time for teens is approximately the same as traditional braces. Dr. Sharma will discuss any additional steps, such as the use of a retainer, if necessary, following treatment. Check out the before and after shots of an Invisalign patient.
The Invisalign procedure is simple, but it does require a fully qualified orthodontist to get the results you’re looking for. Dr. Sharma has extensive education, training and experience in the teeth straightening system. In fact, he’s even a Preferred Invisalign Provider. Contact Aura Orthodontics to book your free consultation and get information about Invisalign treatment in Surrey or Abbotsford.